
Laser-Engraving a Victorian House for a Christmas Village
| Timeline: | Oct 23 – Nov 29, 2012 | |
| School: | School of Engineering & Biomedical Science (SEBS) | |
| Course: | CADD 4 (Senior Year) | |
| Software Used: | Autodesk Inventor |
Designing a Victorian Dream (October 23rd)
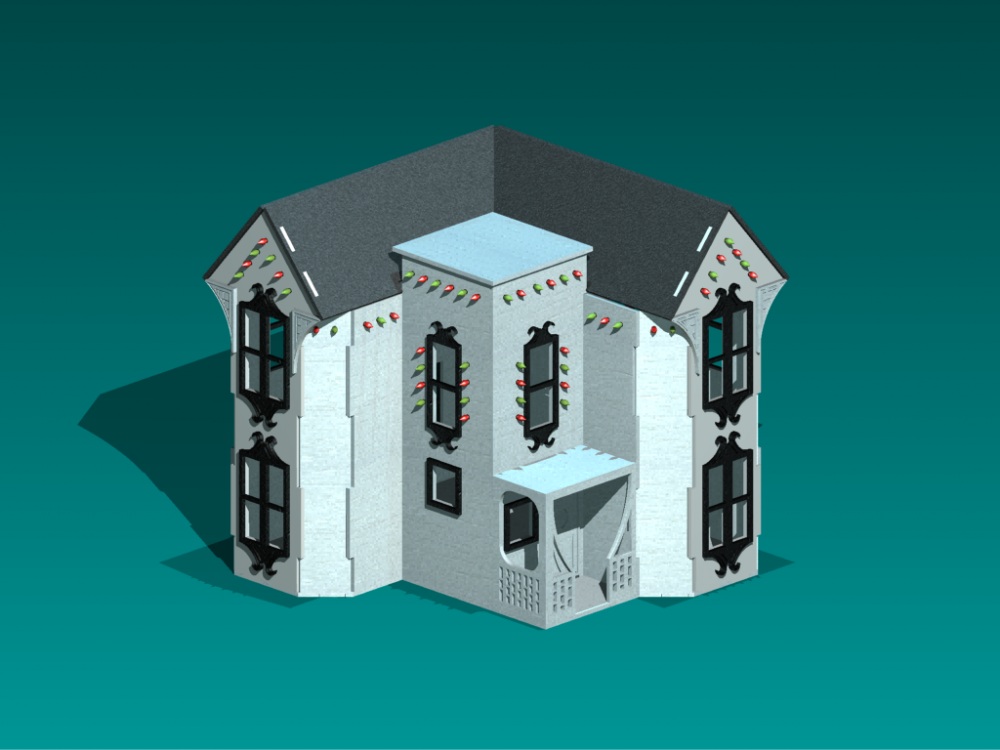
The journey began in late October, when I presented my initial CAD drawings for a Victorian house to my CADD 4 class at SEBS. I’d spent hours poring over references like Progressive Foam’s folk Victorian guide, eHow’s how-to’s, and a smattering of porch and exterior style articles (1, 2) to capture the essence of the era. The goal: a scale model that would feel at home in a Dickensian Christmas village, yet be unmistakably my own.

CAD drawing of the Victorian house to visualize the end result.
From Drawing to Laser (October 29th)
By the end of October, our teacher began accepting IDW files for engraving. I finalized my design, double-checked every measurement, and nervously submitted my files. There’s something magical about watching a laser cutter trace the lines you drew on a screen, transforming sheets of wood into intricate gingerbread trim and delicate window frames. The smell of burnt wood and the whir of the machine became the soundtrack of that week.
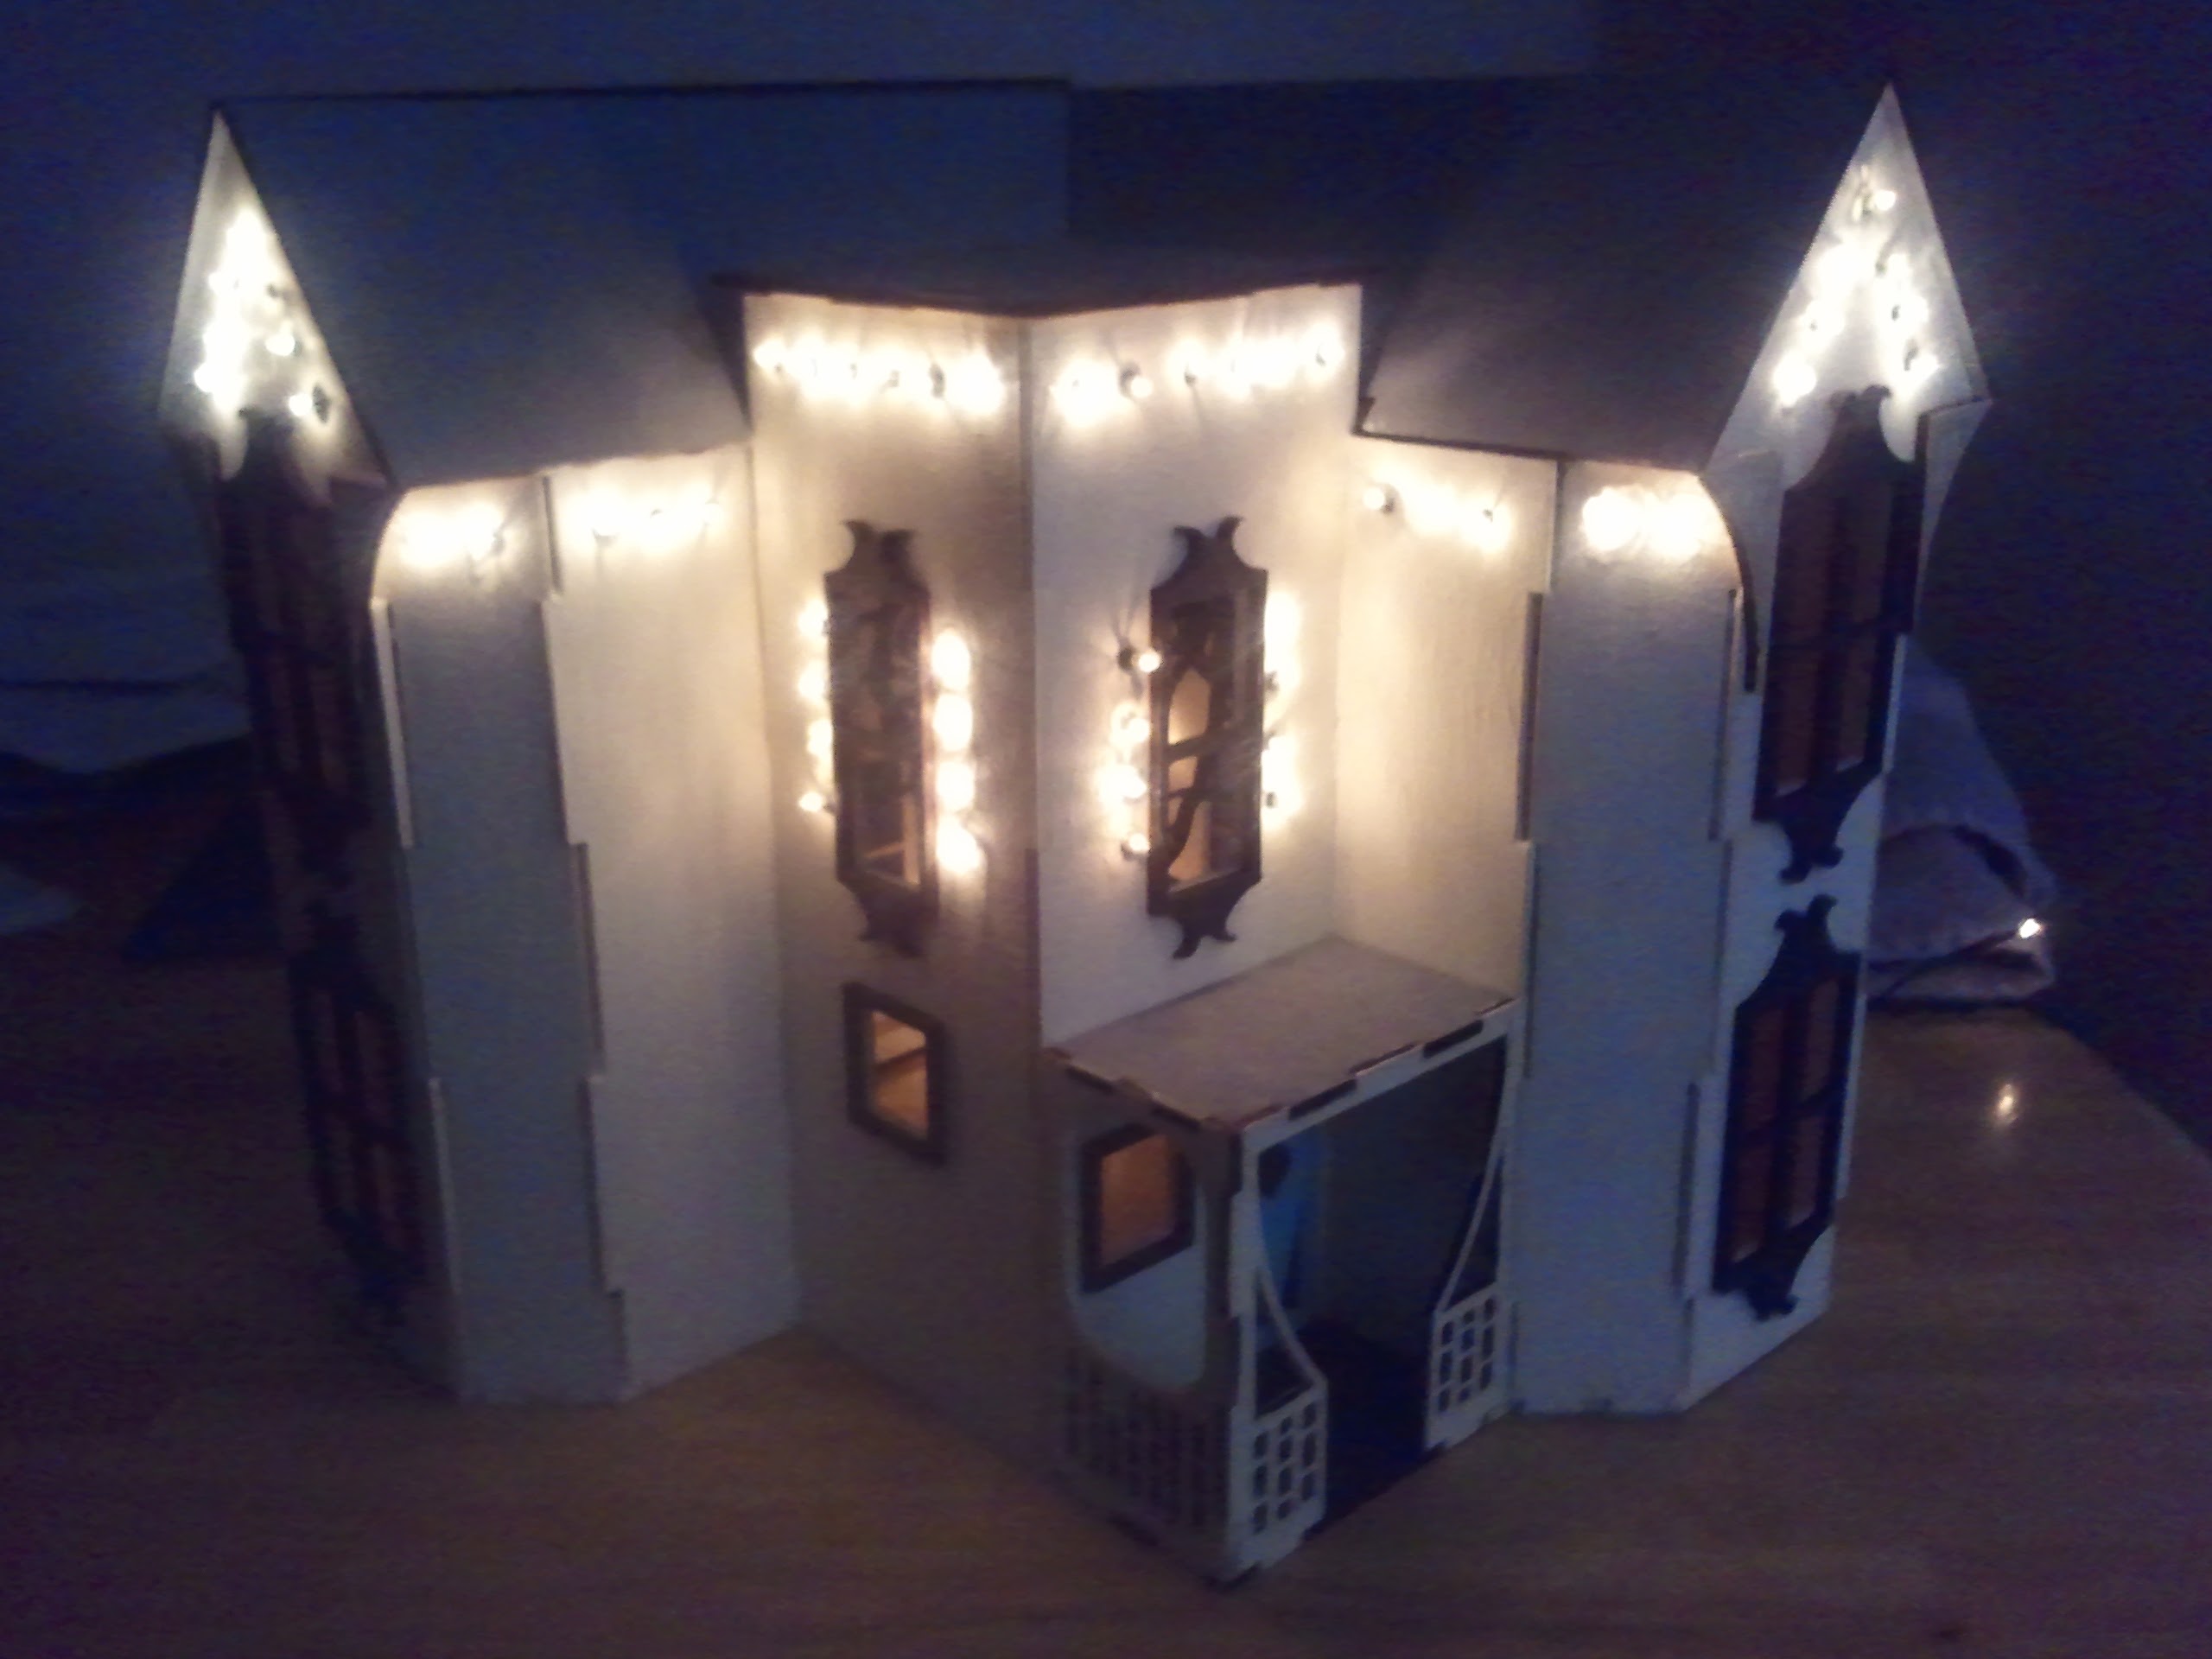
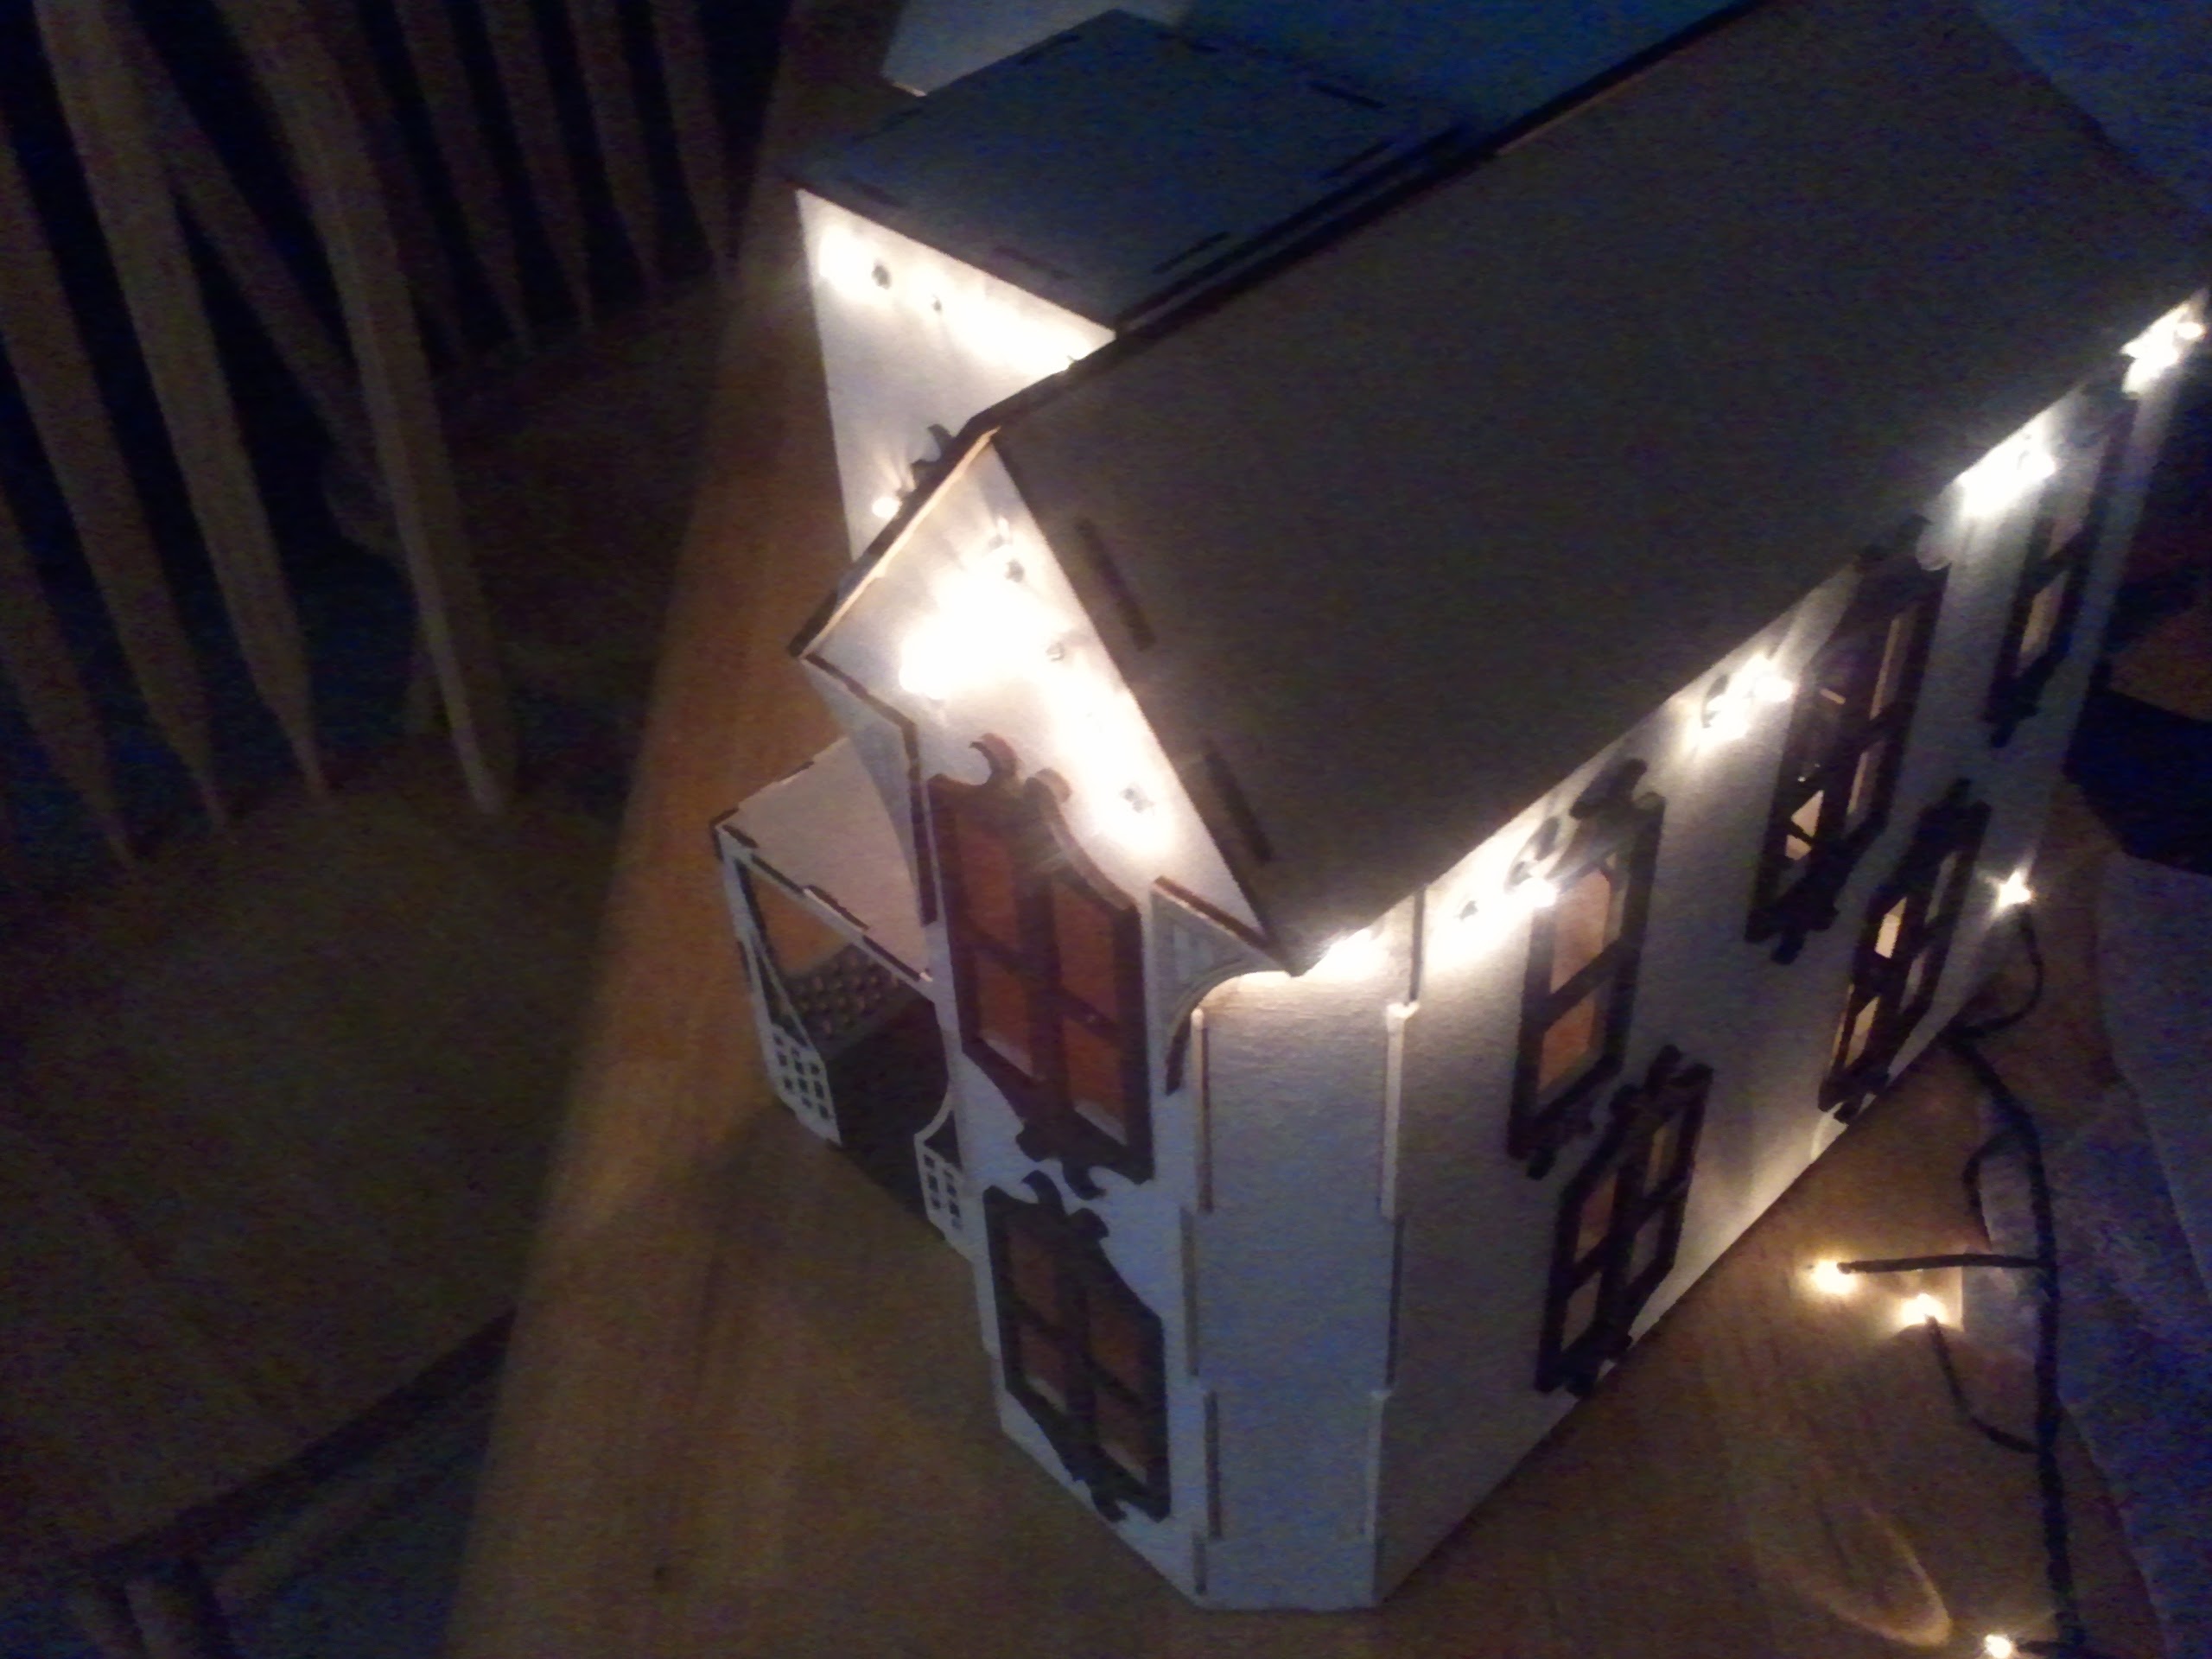
Front view of the model with lights installed.
Assembly: The Puzzle Comes Together (November 12th)
Physical assembly was due just after Veterans Day. I spent evenings hunched over my desk, carefully slotting together the engraved pieces, gluing, clamping, and occasionally cursing when a wall didn’t quite fit. The house slowly took shape: first the main structure, then the ornate porch, and finally the roof. Each piece was a small victory.
Left side of the model. Right side of the model.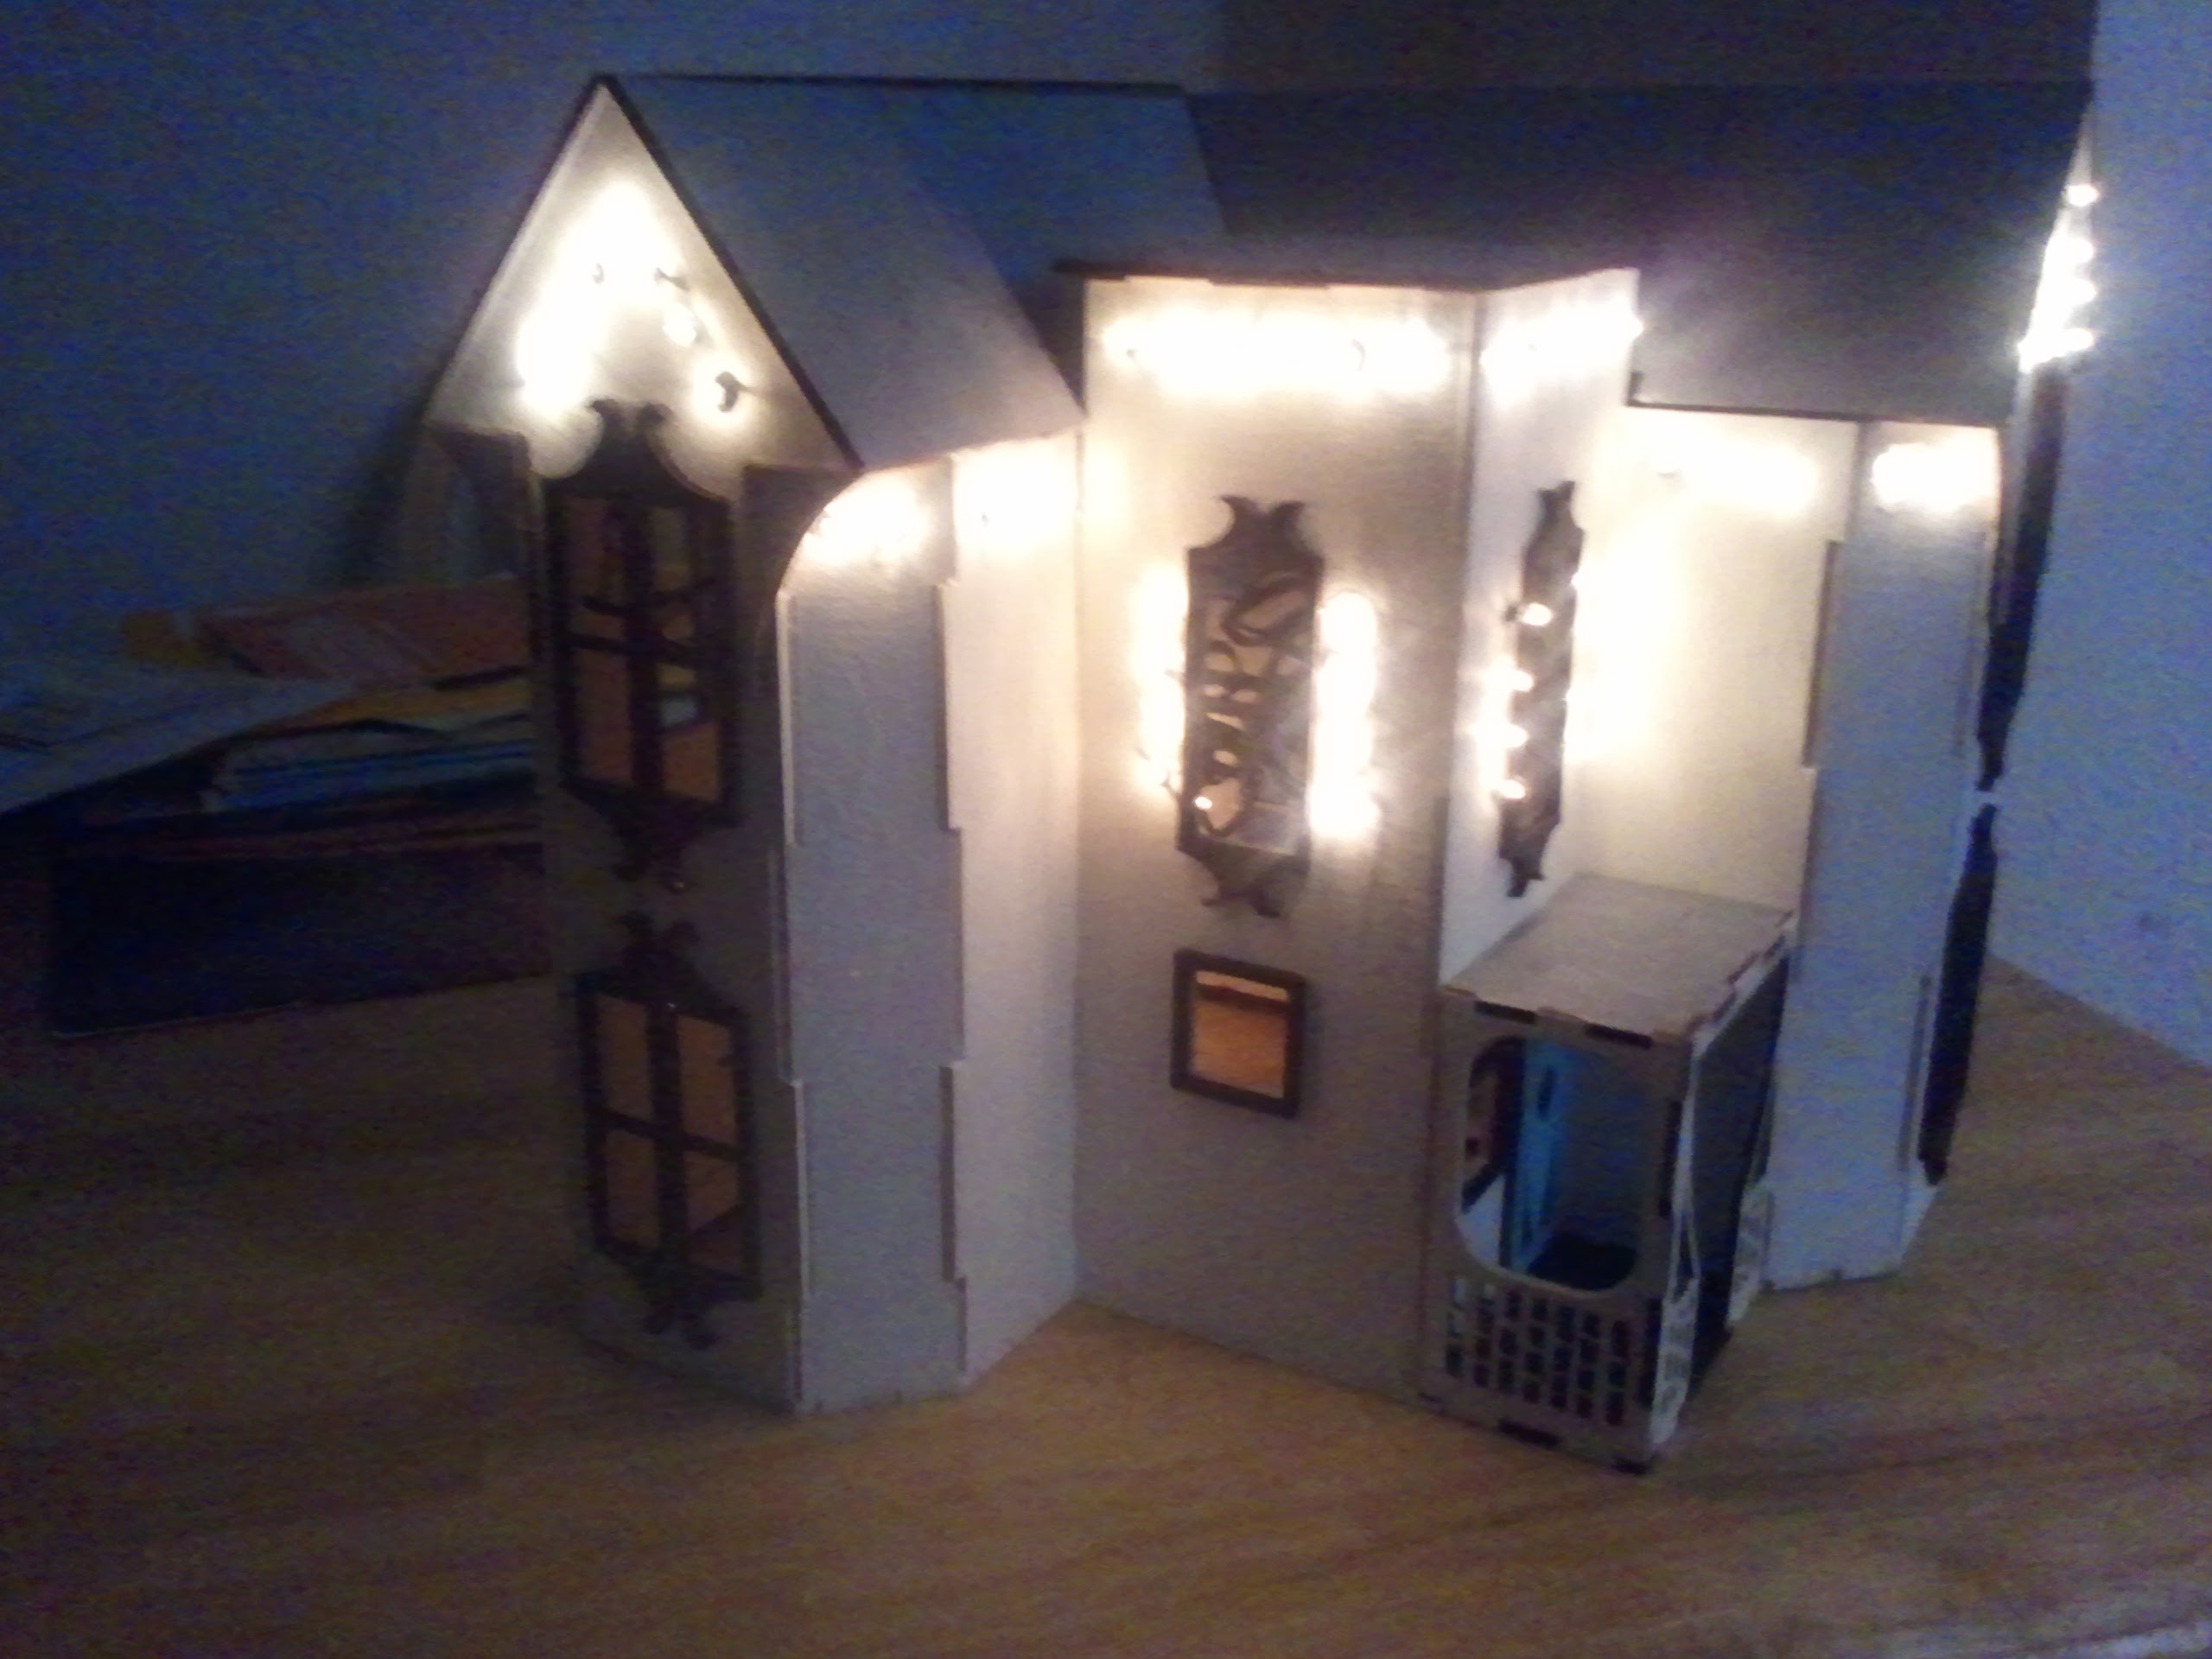
Painting and Details
With the structure complete, I turned to painting. Folk Victorian style is all about color and contrast, so I chose a palette that would pop under the Christmas village lights. Each window frame, shingle, and porch post got its own careful coat. I learned quickly that patience is a virtue. Rushing meant smudges, and smudges meant starting over.
The Village: Lights On (Thursday after Thanksgiving)
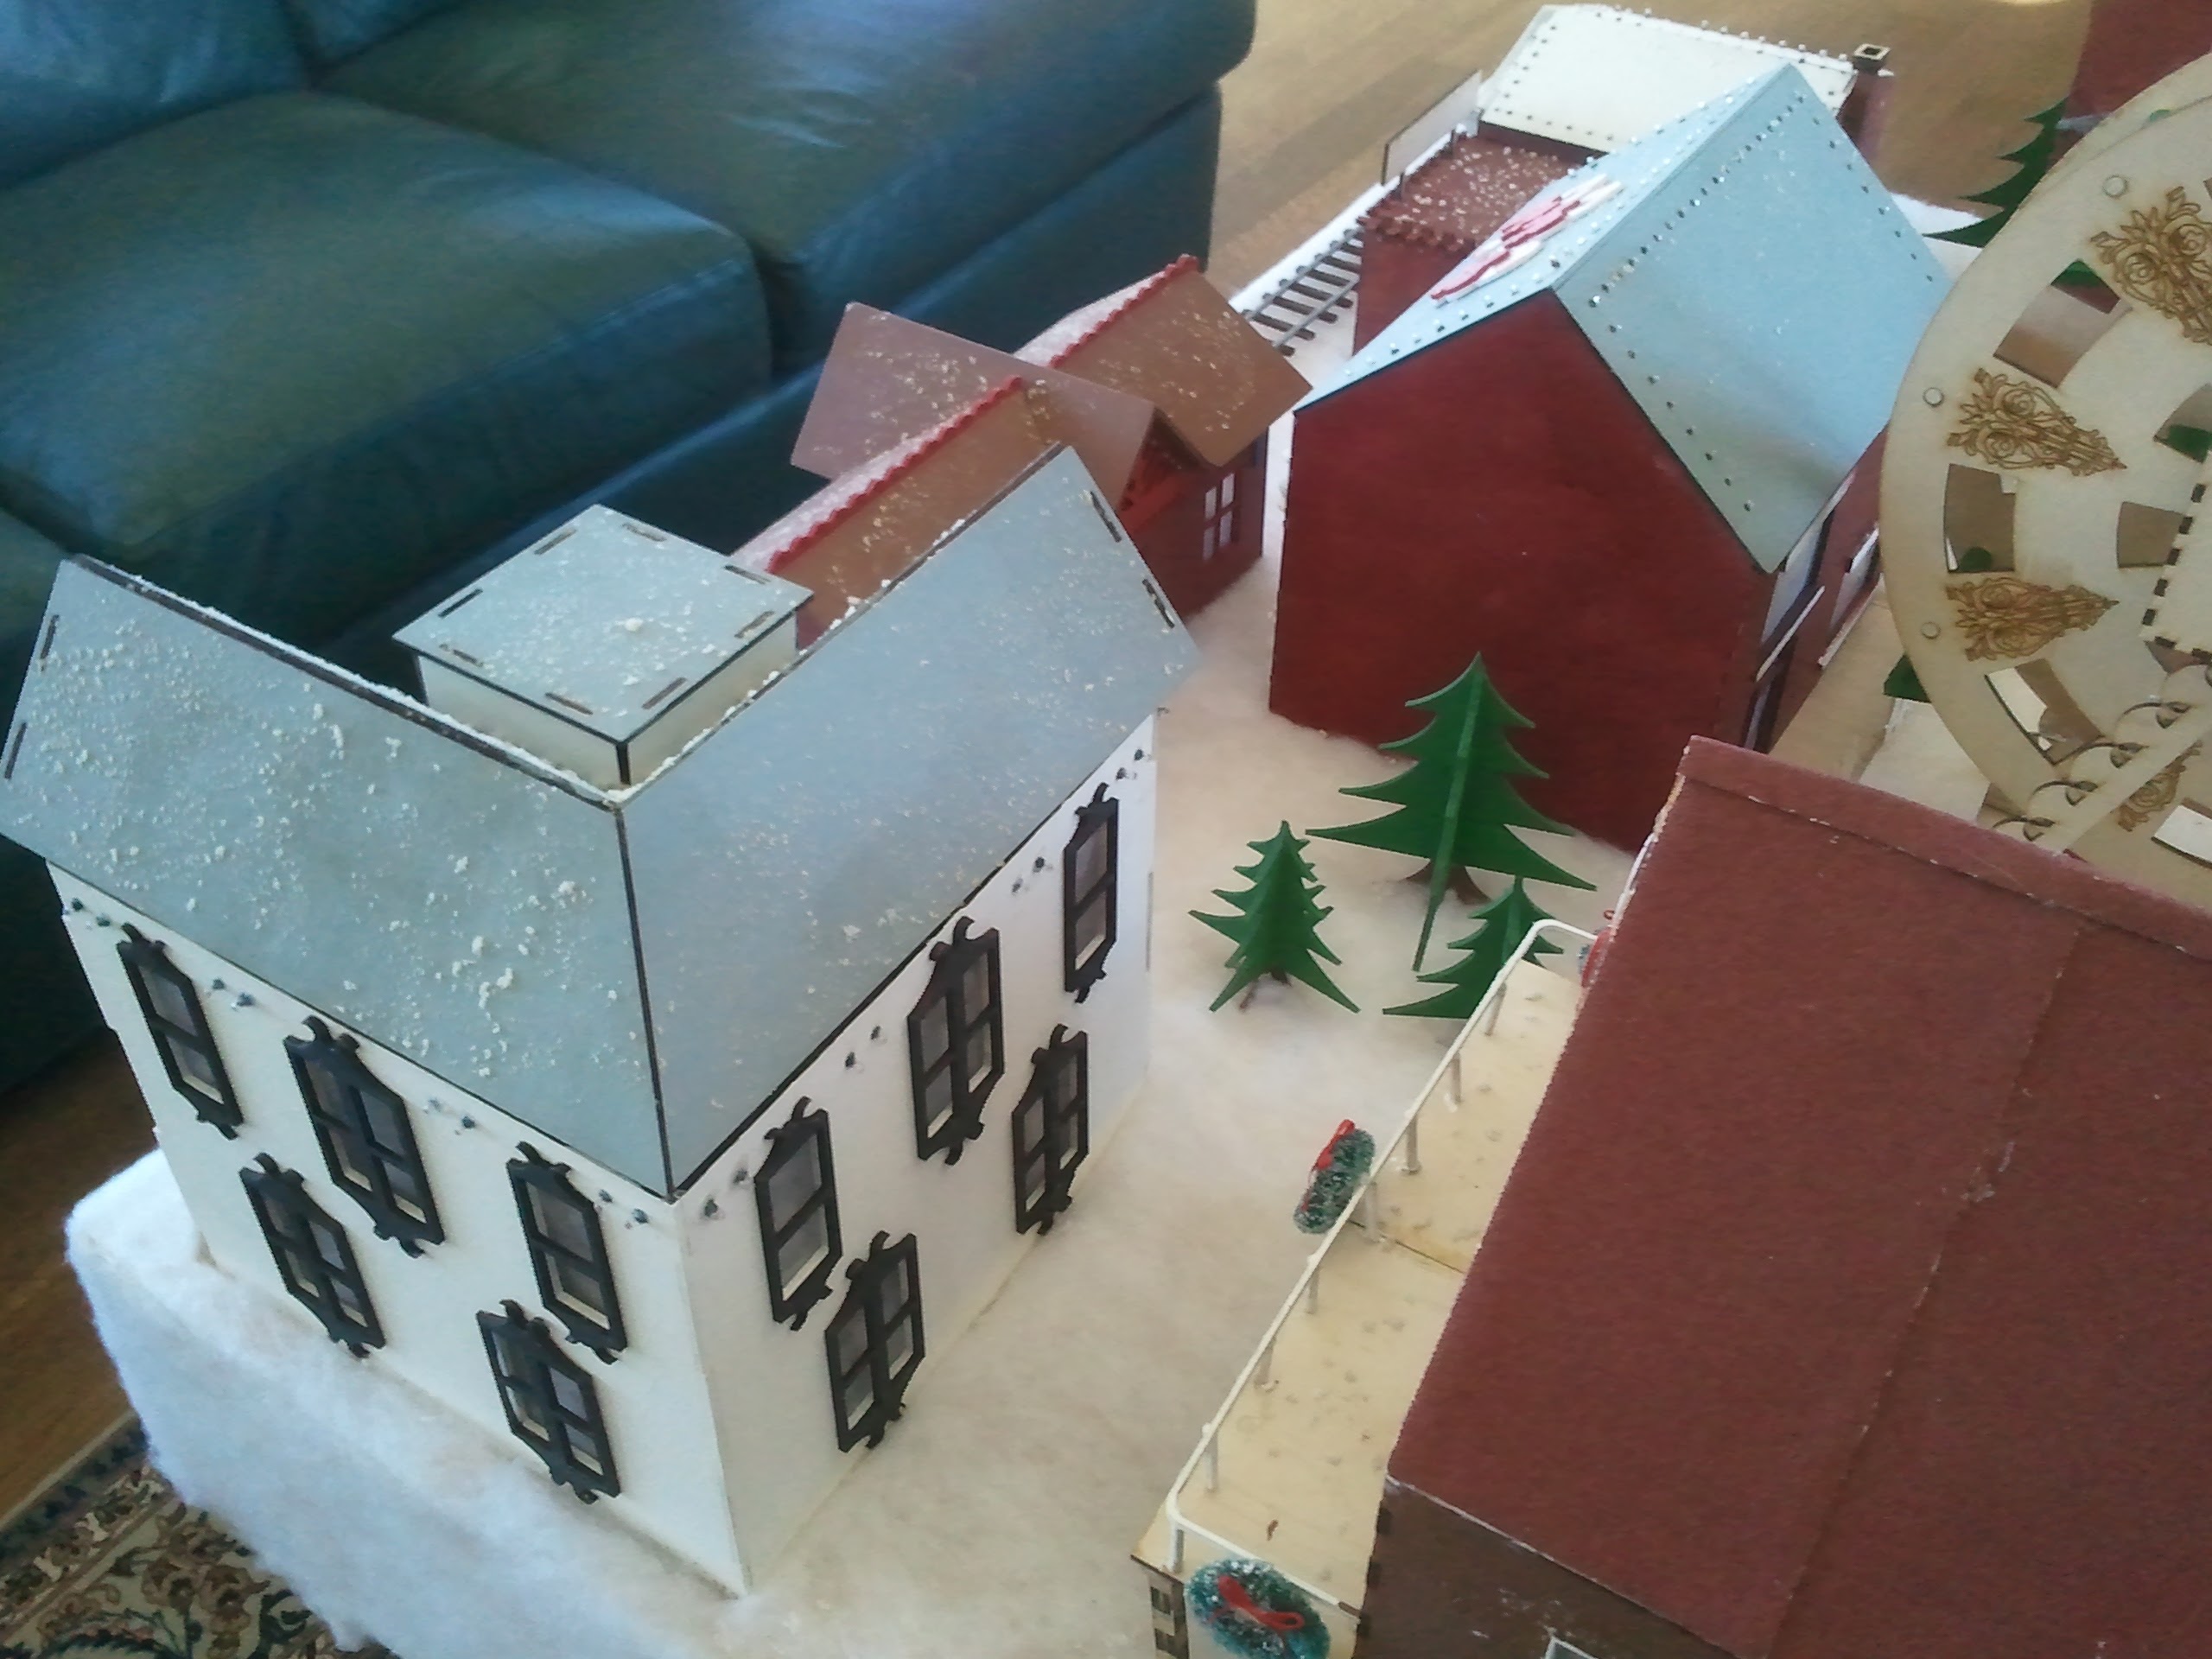
The Thursday after Thanksgiving, we installed our houses in the school’s Christmas village display. My model, now fully painted and wired with tiny lights, joined a street of classmates’ creations. When the lights flicked on for the first time, the whole village glowed. There’s a special kind of pride in seeing your work nestled among others, each house telling its own story.
Front view of the model in the Christmas village display. Back view of the model in the Christmas village display.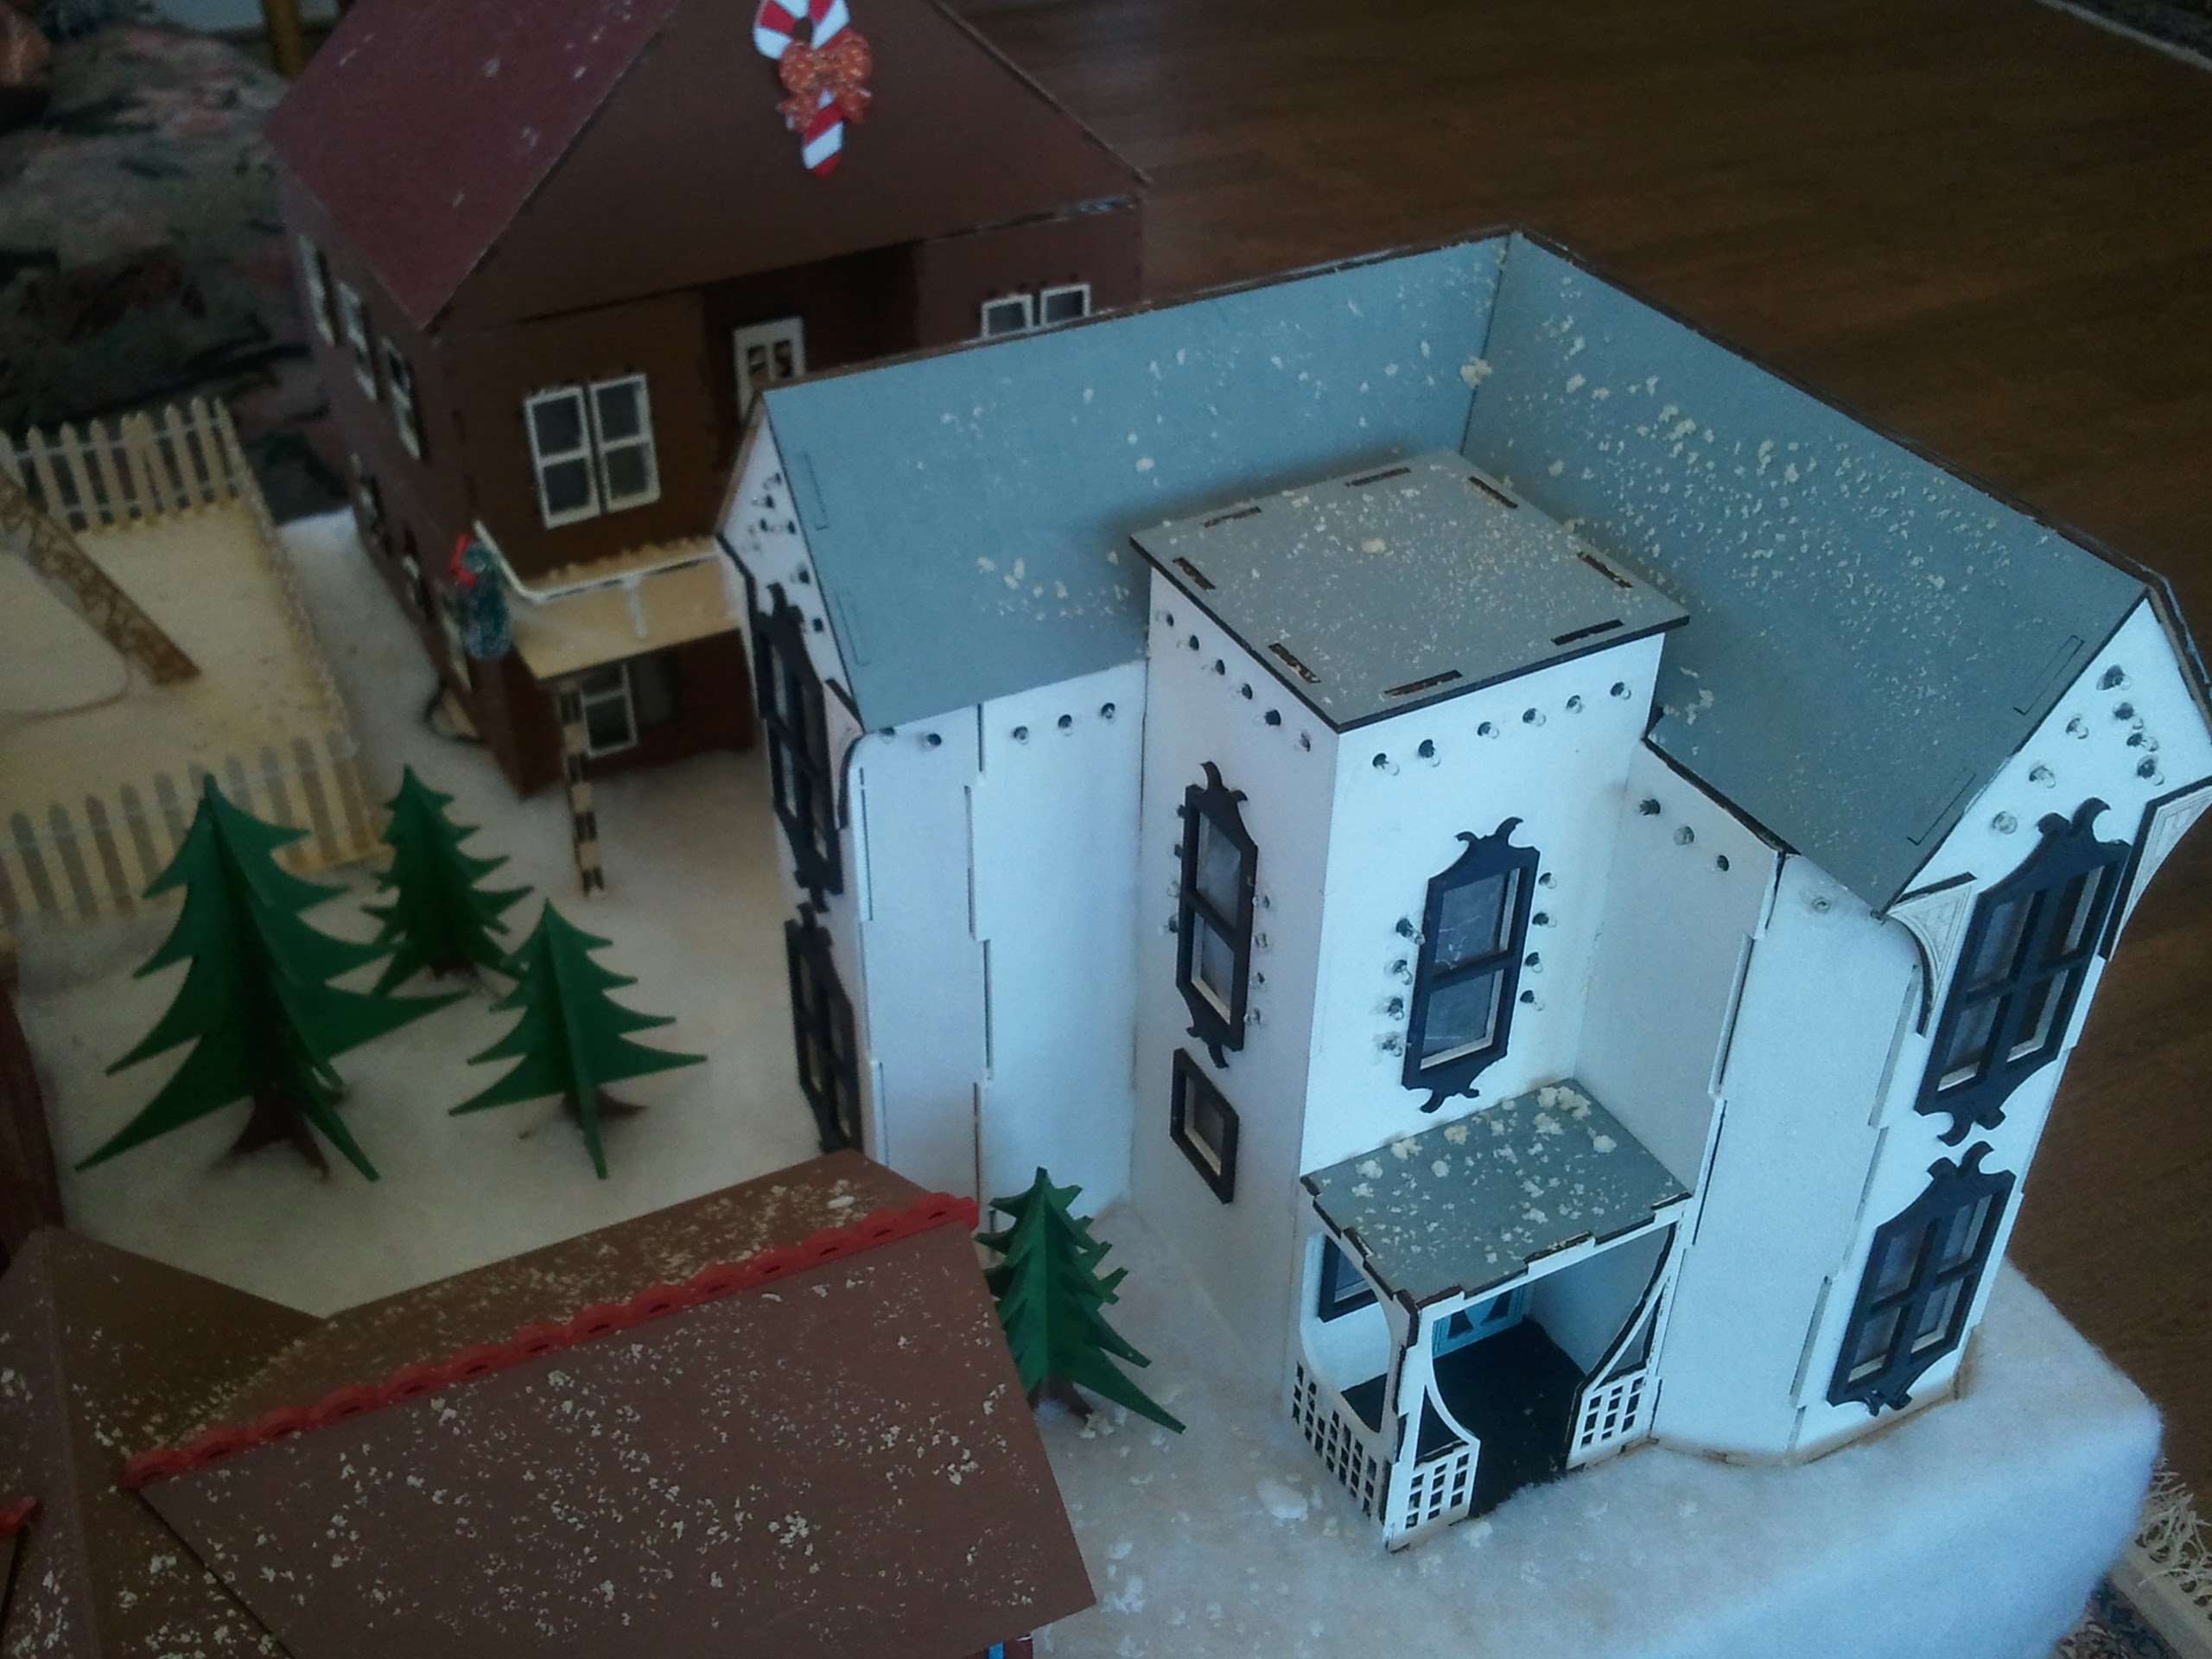
Reflections
Looking back, this project was more than just a model. It was a lesson in patience, precision, and the joy of making something real with your own hands. It’s easy to forget how much work goes into even the smallest details, but every late night and every splinter was worth it when the lights came on.
If you’re curious about Victorian architecture, or want to try your hand at a similar project, I highly recommend starting with the resources I used (linked above). And if you ever get the chance to see a Christmas village display, look for the little house with the gingerbread trim and a warm glow in the windows. That’s mine.